
evo2-40b
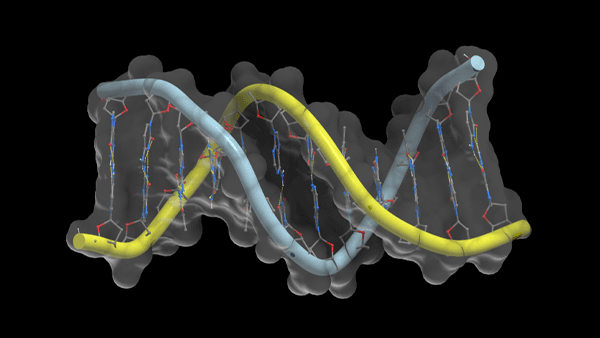
DownloadableEvo 2 is a biological foundation model that is able to integrate information over long genomic sequences while retaining sensitivity to single-nucleotide changes.
Follow the steps below to download and run the NVIDIA NIM inference microservice for this model on your infrastructure of choice.
Generate API Key
Start NIM
$ docker login nvcr.io
Username: $oauthtoken
Password: <PASTE_API_KEY_HERE>
- Export the
NGC_API_KEYvariable.
export NGC_API_KEY=<your personal NGC key>
- NIM container automatically downloads models. To save time and bandwidth it is recommended to provide local cache directory. This way NIM will be able to reuse already downloaded models. Execute following command to setup cache directory.
export LOCAL_NIM_CACHE=~/.cache/nim
mkdir -p "$LOCAL_NIM_CACHE"
sudo chmod 0777 -R "$LOCAL_NIM_CACHE"
- Run the NIM container with the following commands. You might need to adjust your GPU's indices.
docker run -it \
    --runtime=nvidia \
    --gpus='"device=0,1"' \
    -p 8000:8000 \
    -e NGC_API_KEY \
    -v "$LOCAL_NIM_CACHE":/opt/nim/.cache \
    nvcr.io/nim/arc/evo2-40b:latest
This command will start the NIM container and expose port 8000 for the user to interact with the NIM.
- Open a new terminal, leaving the terminal open with the just launched service. In the new terminal, wait until the health check end point returns
{"status":"ready"}before proceeding. This may take a couple of minutes. You can use the following command to query the health check.
curl http://localhost:8000/v1/health/ready
DNA Sequence Generation Examples
The following examples use the DNA Sequence Generation (Prediction) functionality to get started with the NIM.
Both Python and Shell examples provide input DNA sequence, number of generated nucleotides (num_tokens), as well as some optional parameters. The outputs of the examples will contain JSON objects with generated DNA nucleotides: adenine (A), thymine (T), guanine (G), and cytosine (C) in the sequence field, as well as other optional fields, such as sampled probabilities per nucleotide.
Python client example
The following is an example of how you can use a Python client to input a DNA sequence to generate its DNA nucleotides.
- Save following Python example to a file named
nim_client.py.
#!/usr/bin/env python3
import requests
import os
import json
from pathlib import Path

r = requests.post(
    url="http://localhost:8000/biology/arc/evo2/generate",
    json={
        "sequence": "ACTGACTGACTGACTG",
        "num_tokens": 8,
        "top_k": 1,
        "enable_sampled_probs": True,
    },
)

if "application/json" in r.headers.get("Content-Type", ""):
    print(r, "Saving to output.json:\n", r.text[:200], "...")
    Path("output.json").write_text(r.text)
elif "application/zip" in r.headers.get("Content-Type", ""):
    print(r, "Saving large response to data.zip")
    Path("data.zip").write_bytes(r.content)
else:
    print(r, r.headers, r.content)
- Execute the example.
chmod +x nim_client.py

./nim_client.py
- The example saves results to the
output.jsonfile in json format. You can quickly view the file using the following command.
less output.json
Shell client example
- Save the following Shell example to a file named
nim_client.sh.
#!/usr/bin/env bash
set -e

URL=http://localhost:8000/biology/arc/evo2/generate

request='{
 "sequence": "ACTGACTGACTGACTG",
 "num_tokens": 8,
 "top_k": 1,
 "enable_sampled_probs": true
}'
curl -H 'Content-Type: application/json' \
     -d "$request" "$URL"
- Execute the example. The example displays the results to the terminal in JSON format.
chmod +x nim_client.sh

./nim_client.sh
For more details on getting started with this NIM, visit the NVIDIA NIM Docs.